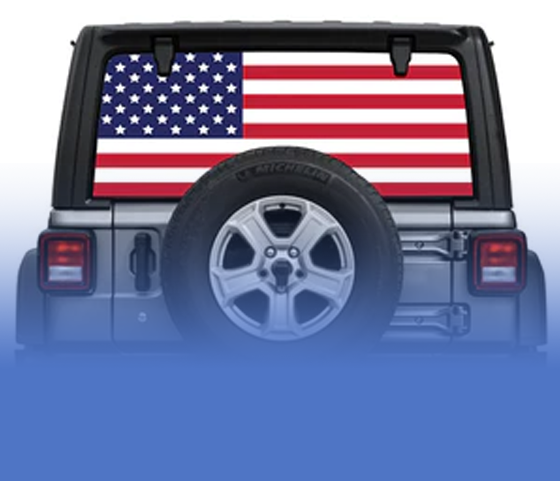
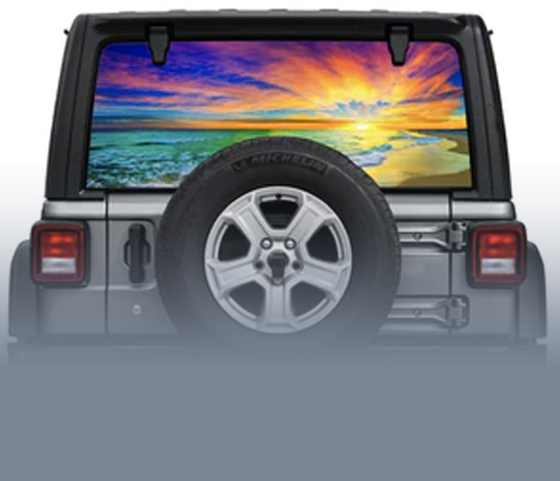
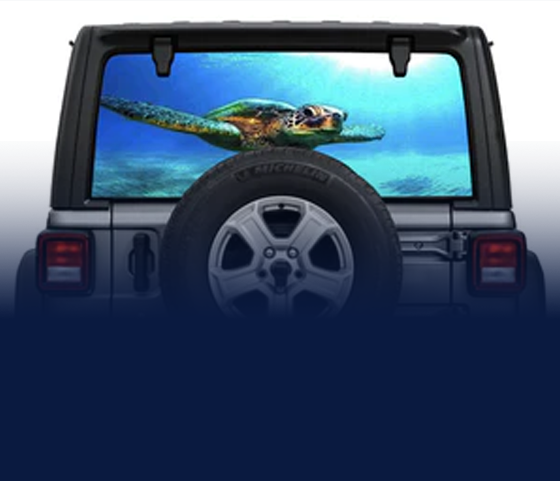
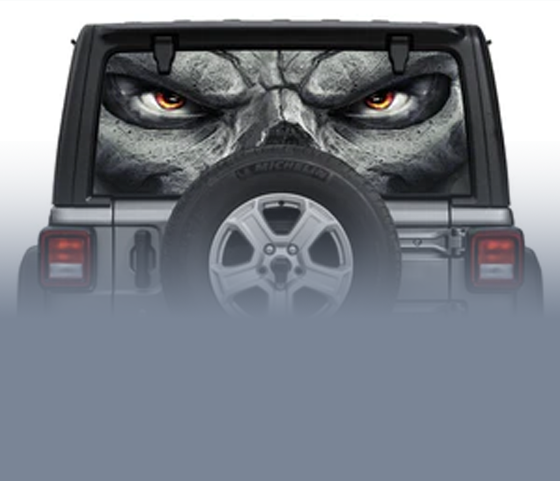
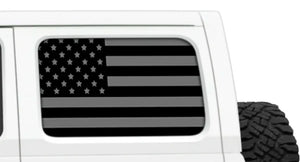
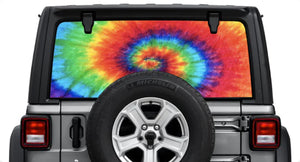
The rear decal installation was a little more difficult than I had planned for. Upon opening the cylinder, I laid out the decal in the back of the trunk and noticed there wasn’t a tool to aid flattening out the decal upon installation. So I had my wife help me install the decal while I used my hands to smooth out the edges. I though it’d take us 15 mins to install, but it ended up taking us roughly 40 mins because we had to keep pulling off the decal to smooth it out.
Secondly, we noticed the decal was not precut for a JL model rear window. The JL has four items on the rear window, two handles to hold the window, one rear window washer knob, and one windshield wiper assembly. It was tough to measure the bulging knobs while installing the decal. It’s just as difficult trying to trace the objects in order to precut the holes. If I had to do it again, I’d measure the knobs and probably draw an outline on the decal then precut it before installing.
The windshield wiper is probably the most difficult to maneuver around and although disconnecting the rear assembly is an option, the product would not be considered user friendly. I cut an outline of the windshield wiper and unfortunately I cut the outline too close, in which you can see where I had to piece together the halves that did not exactly line up. You can definitely see the deficiencies up close.
From far off, the decal looks very nice and a benefit is that I can see out of it during the day and the evening. Best of all it helps to reduce the brightness of lights from the traffic behind me. My next test is to run my Jeep through the car wash and see if the decal bubbles up or loses its adhesive.
Overall, it’s a great idea and looks amazing when applied, but I’d recommend precut holes for the JL model and likely all rear window types.