Post Date
January,
16
2018
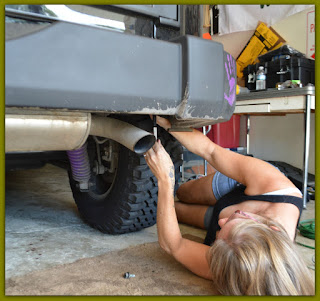 Yesterday, I told you about the removal of my factory rear bumper and spare tire mount. It was a very simple and easy removal of the factory parts.
 Jeep Momma Blog Post - August 12, 2015
I was preparing my 2015 Jeep Wrangler Rubicon for the installation of my new Barricade Trailforce HD Bumper with Tire Carrier.
This rear bumper will allow me to upgrade my tires to a bigger size, eventually. The tire carrier will take the weight off the tailgate.
There are many different types of bumpers to choose from with ExtremeTerrain Rear Bumpers -- but I figured it would look best to have the rear bumper match my front bumper, which I installed last year.
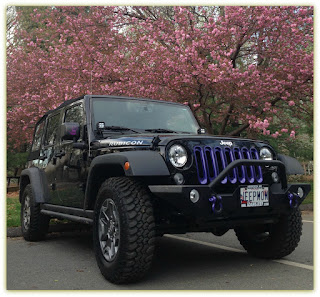 Jeep Momma Front Bumper Install - August 11, 2014
 Once the factory bumper was removed, it was a pretty simple process to install the my new rear bumper.
First, I attached the mounting bracket to the inner side of the rear bumper support beam. These bolts are about 5 inches long. It was a tight space in between the muffler and the support beam. By pushing slightly up on the cover over the muffler, the bolts will slide in.
Then I slid the L-Shaped mounting brackets into the frame rails with the nut backing up to the pre-drilled holes in the frame. All the parts fit to the existing holes all ready on the frame. There was no drilling necessary.
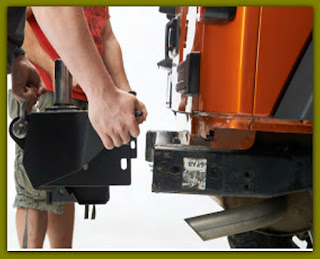 Now it was time to slide my new rear bumper over the brackets and bolts I set into place. However, it was all hands on deck for this one. This is something that needed two people. The rear bumper weighs 110 pounds. I called in my husband to lift the rear bumper, as I guided it into the bolts that were attached to the support beam. It took some adjustments, but we eventually got it into place. Unfortunately -- there are no pictures of this step as my photographer had gone off to play with his friends -- my nine year old son. And my back up photographer -- my husband -- was my helper. The picture you see is from the instructions on the ExtremeTerrain.com website.
Once the bumper was on it was time to thread the supplied bolts to the side bumper support and tighten.
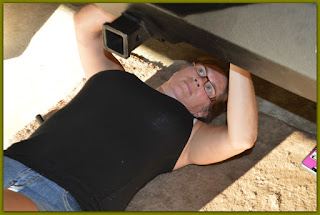
Then I crawled under the Jeep and threaded the nuts onto the bolts and began to tighten all four bolts.
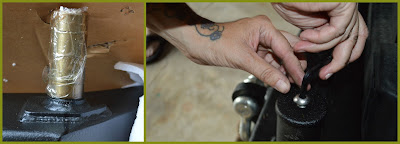
Now that the rear bumper was installed and secure, it was time to get the tire carrier gate installed. First make sure you pull the plastic off the post. It is also good idea to add some grease to the post for a smoother operation. To secure the gate on the post I added the cap and secured it with the allen-head bolt.
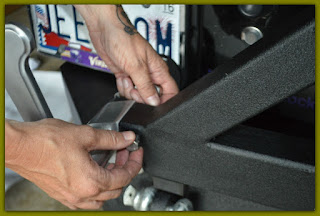 Next up was the tire carrier gate latch. I slide the latch into the end of the swing arm and secured it with the two supplied bolts and nuts.
 Finally, the last step -- install the rear tire carrier by securing it to the rear swing arm. Then adjust it to the desired height.
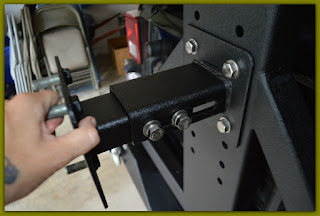 I had to move the this piece to the top holes because my tire wouldn't fit right otherwise. This meant my view out of the back window was obstructed. Which would be okay if I had bigger tires.
 I couldn't figure out why my tire wouldn't fit at a lower height. Then it hit me the next morning -- DUH!!! The piece is adjustable.
All I had to do was loosen the bolts and slide the piece out and the tire now sits at the right height. I'm thinking I might need to get those shackles painted purple now.
- Simple Living! - Enjoying Life! - The Jeep Life! -
ExtremeTerrain provided the rear bumper with tire carrier for review. No additional compensation received.
All opinions are my own.







Leave a comment